[Editor’s note: This article first appeared in Chinese on the site PALMisLIFE.com. Past Gear Diary contributor Larry Liaw did the modifications and translated the story for our readers. Larry has done some pretty radical upgrades in the past, most notably to the Palm Treo series; this marks the first time he has shared an iPhone mod with us, and what a mod it is!]
And here’s the story…
Once upon a time, a key webmaster of “PALMisLIFE.com”, Hui, owned an iPhone 3G and was happy with its features and elegant looks. He used it for texting, messaging, gaming, web surfing and even photographing. He never left his it alone, until one day he found his lovely iPhone had cracked…
“God! It’s really a disaster! Why is my iPhone is so fragile? Should I send back to Apple to get a new back cover?” Hui could have done that, but he thought “However, they can only offer those boring black and white…”
Hui was right! Why don’t we make our own colorful iPhone? Hui told me about his idea, and then soon I accept the mission he had passed to me.
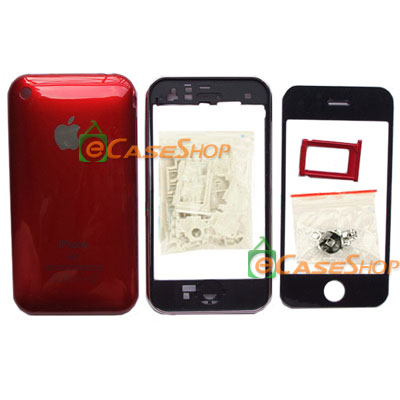
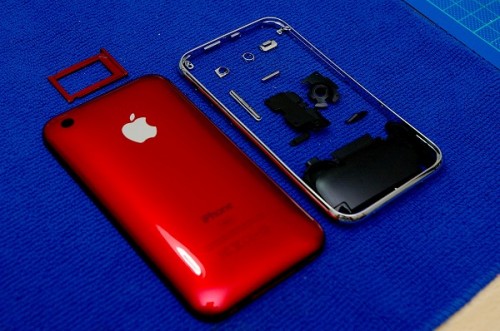
By Googling, I found an online shop which supplies colorful iPhone housings with plenty of choices. From the housing replacement instructions, it looked feasible to replace iPhone housing on your own. Hui said he would like to try the red one (see picture as supplier provided below), so I placed an order to buy it.
After waiting four shipping days, I received the mail pack from supplier. A complete housing set includes many accessories as the picture shows: (some accessories are not shown here, like the plastic middle frame since we’ll never need it)
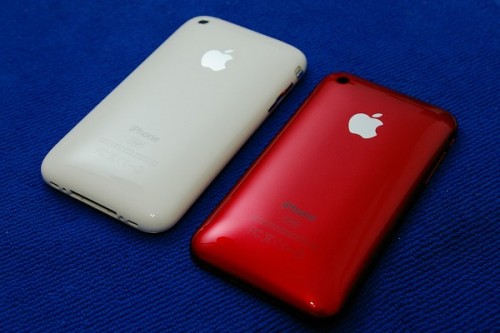
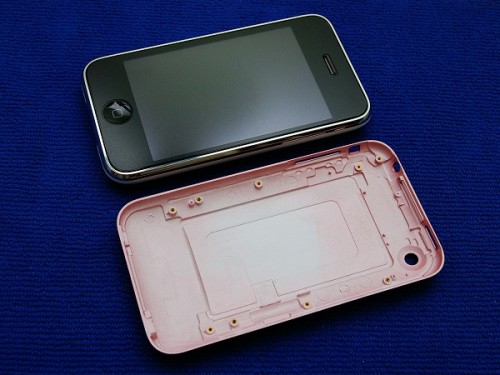
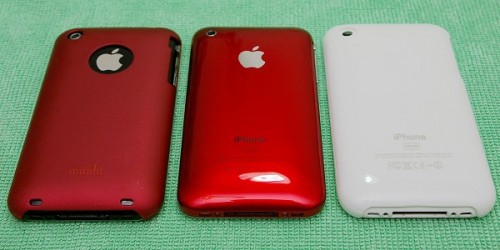
Here’s the comparison before back cover replacing.
I won’t describe too much, beside using pictures to show how those steps as I go along, since you can find very detailed iPhone disassemble instructions on the supplier’s site.
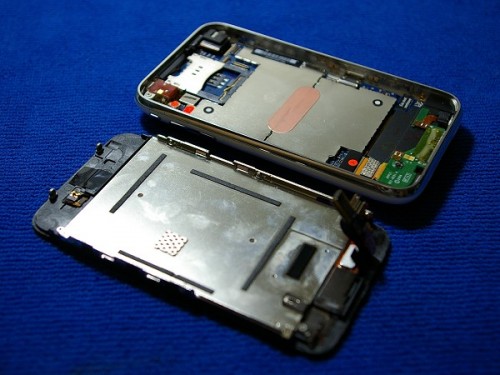
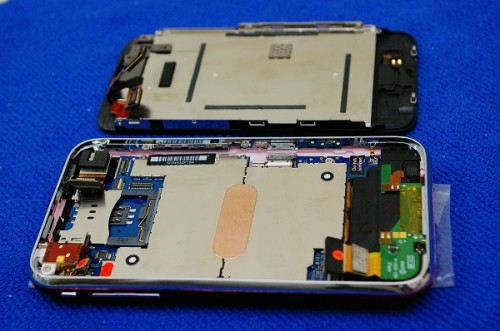
First, of course, you have to remove the two screws beside the iPhone sync connector, then open up and remove the whole assembly containing the LCD with touch panel.
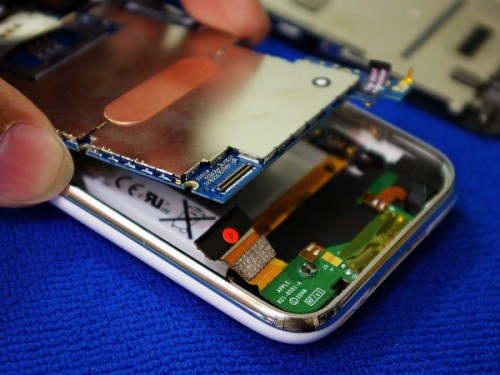
Remove the main board after all screws are released.
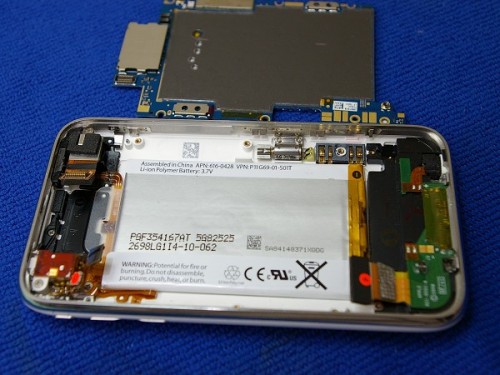
The back cover carries the majority of components of an iPhone. All we have to do is just to move ‘ALL’ these components from old back cover to a new one. 
See? It’s done! We did it!
WHAT!?…… That’s all? So what about the necessary steps? They are important, aren’t they?
OK, OK. Now let’s go back to the start.
As you will see, the back cover is just an empty cover. There is nothing attached on it as we turn it over. We need to put a chrome frame onto to back cover since most of all components must be attached on it.
So, here is just the beginning of the challenge. It must be better to use the original chrome frame because of its precision and strength. There should be no doubt, since it is the original designed for use of an iPhone, right? However, let’s see how the chrome frame attached to the original back cover.
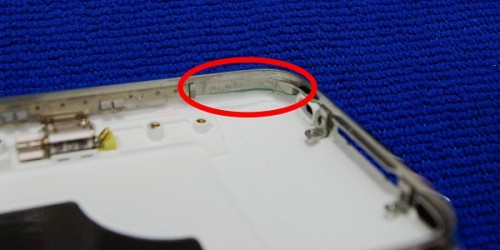
As we can see in the following two pictures, there is some glue applied between the chrome frame and back cover. Do you see the glue with light green color? Yes, that is just the “Key Technology” that kept them stuck together.
OK, so here come the questions:
How do I separate the back cover set? What if I bend or destroy the original chrome frame and back cover? I will need them in perfect shape so I can put everything back together once I fail and give up on housing replacement. 
Hence, I made this decision: I would NOT try to remove the original chrome frame, just keep the back cover set as it was. 
So, what about the next decision? Remember that there was a chrome frame that came with the new set? I had no choice but to use it.
By referencing the “Key Technology” used on the genuine iPhone, it should be a simple solution to stick the frame and the cover together by applying glue on them.
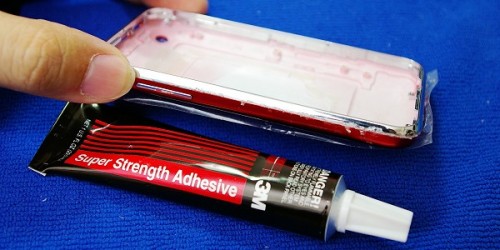
So I used the 3M Super Strength Adhesive to make them stick together.
Then, I just put the cover set aside and waited for it to dry out. Next I went to take a bath, finished my dinner, went out for shopping and… anyway, all I had to do was wait until the next day; it didn’t matter what I did while waiting…
As the second day coming, I tried to inspect the things I had done the day before… my God! The result was pretty bad! Unlike the metal frame on a genuine iPhone, the chrome frame I purchased is actually made of plastic with a little bending. It did not totally align with the edge of the back cover.
What else could I do except rework? I had no choice but to tear them apart and do it again. But this time I will focused on fitting the edges of the back cover. Once again, I went to take a bath, finished my dinner, went out for shopping and… waited for the next day to come.
It’s lucky that the result this time was nice. Since the most difficult job had been done, the rest would be easier to complete.
After removing all excess glue on the back cover set, I put the metal frame of the earphone jack into the proper place as well as the camera’s metal frame.
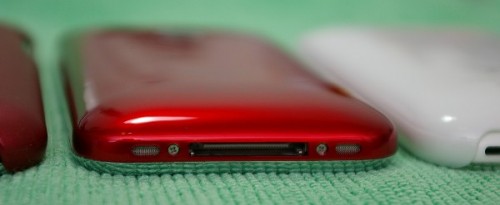
I located the bottom of the cover, moved both the metal mesh covers to the new back cover, and placed them in the same location.
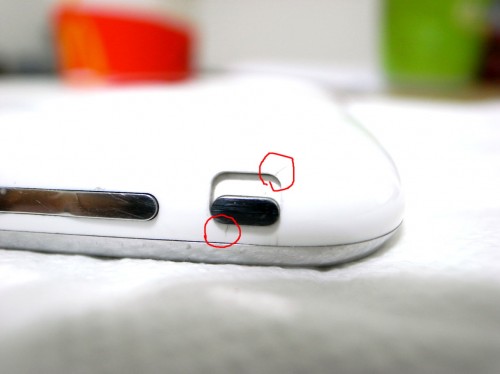
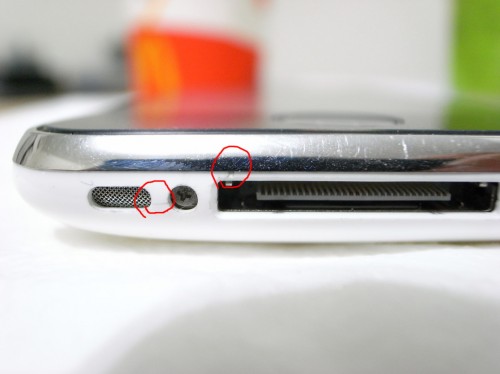
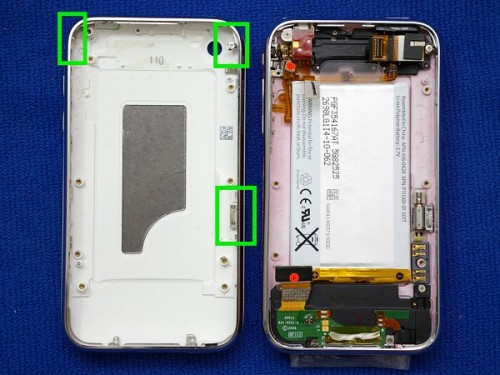
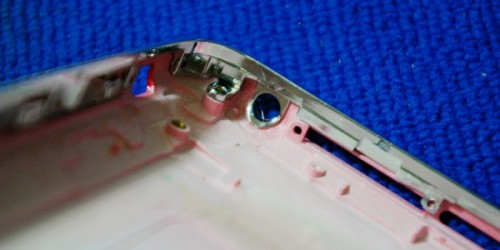
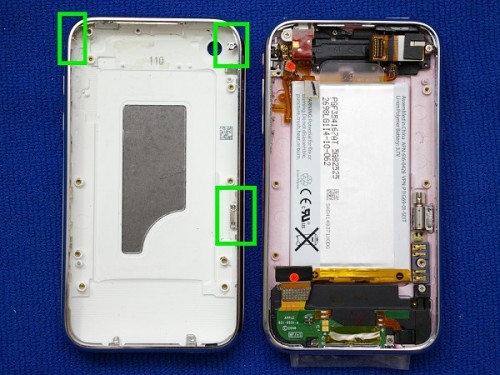
At the three locations I highlighted in the next picture, the new chrome frame is much different from the old one. Some places were lacking a screw hole, and some were lacking proper support. So I had to modify and strengthen those three points, then I had to move all the things from the old cover to the new one.
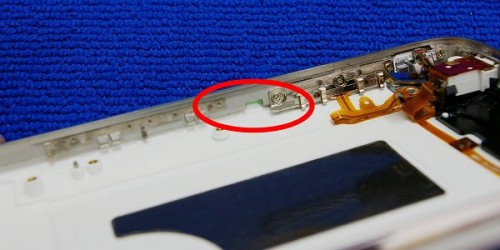
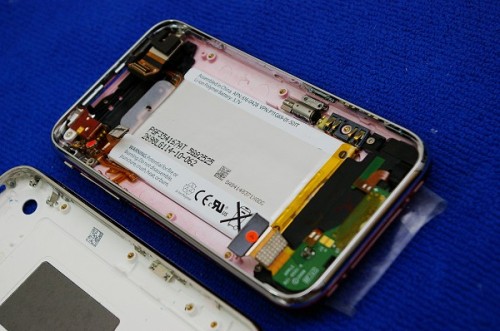
Here is a close up showing what I did to put all things into the new back cover.
I put the main board back and tightened all screws, then I put the LCD screen module back. (Don’t forget to secure all cables and connectors inside the iPhone)
Yes! The job is done, finally! 
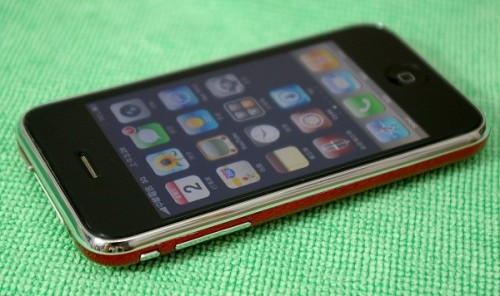
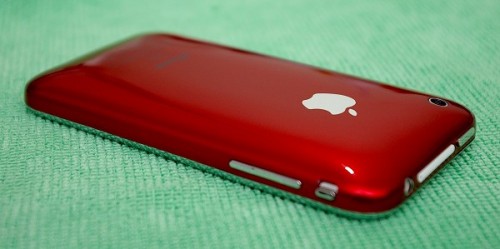
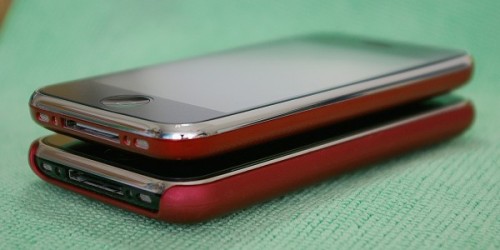
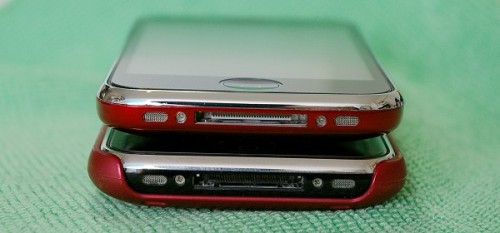
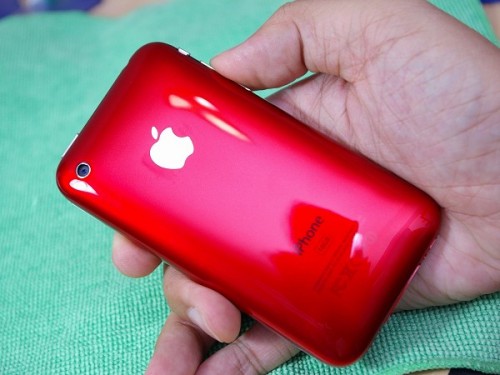
Let’s have a look from different angles. (Note that I reused the white SIM tray because the new SIM tray doesn’t correctly fit)
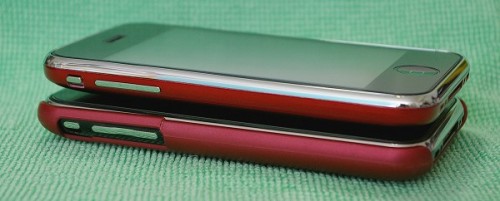
Compared with my black iPhone 3G 8GB that’s wearing a “Moshi” add-on back cover. (It’s the bottom phone, which you can tell by the black area right beside the volume adjust button)
I have to say the greatest advantage of this replacement cover is that you can easily “upgrade” your memory to 16GB without spending extra money, if your iPhone is 8GB version…
Isn’t it pretty?
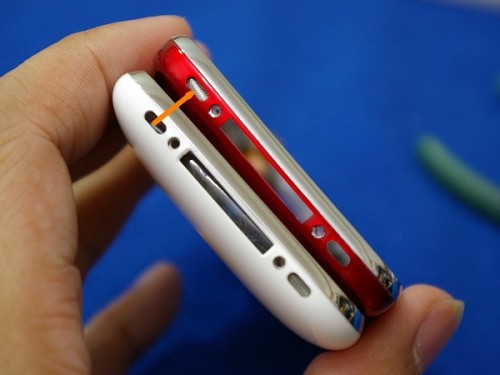
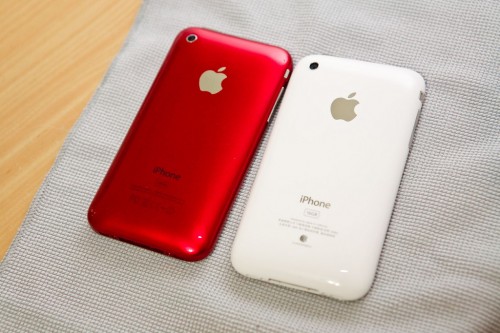
The new Red iPhone 3G is lying next to the white iPhone 3Gs. Can we call the red iPhone 3GR(ed)?
So where did the red iPhone finally go?
Hui sent it to his girlfriend as a gift on Chinese Valentine’s Day. How sweet!





PALMisLIFE.com Puts a Red Wrapper on Hui’s Apple iPhone | Gear Diary: I had no choice but to use it. By refe.. http://bit.ly/nUDBj
@metaltax iPhone shell mod looks pretty cool – http://bit.ly/18jidE . Apple gave you lemons, make lemonappleade, or something.